Hello everyone, we know that most of the embedded developer use 8051 microcontroller to create simple to complex project. Keil software provide user friendly interface and update all support file up to date on time so mostly we are use keil version for 8051.
Table of Contents
Steps to run embedded c program in keil software
We are commonly use 7 steps to run embedded c program in keil software
Following some important steps to run embedded c program in keil software :
Step 1 : Open keil software (micro version 5)
we need to install keil micro version 5 software from it’s official site
click on keil software for download purpose setup file is no much big i.e. only 94 mb

Step 2nd : Create new project in keil software
After successful installation of software we need to create our new project so for that click on project Tab and select New microvision project

After the selection of this file we need to give name for the project file
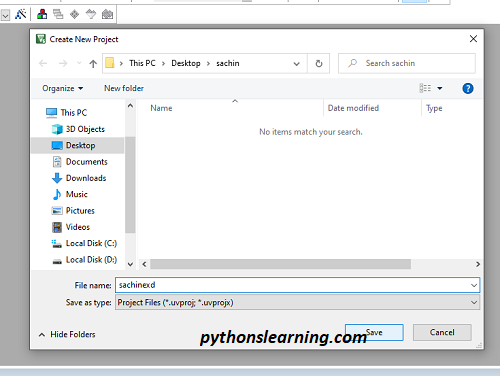
In this article we are give file name as sachinexd
Step 3 : selection of Target device in keil
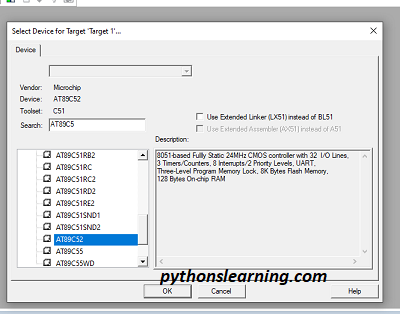
The next step is select device for Target so in this article we use AT89C52 Target device. In description window we are clearly visible what is property of the selected devices.
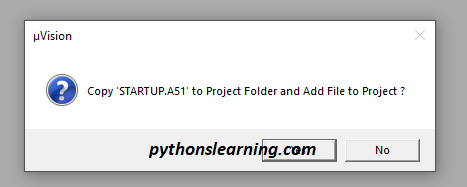
we know that it is possible to write code in embedded c as well as assembly language so if we want to write code in assembly language then we are click on No Tab if write this code in embedded c then click on yes tab.
In this article we click on Yes because we are use here assembly language
Step 4 : Add New Item group in keil software
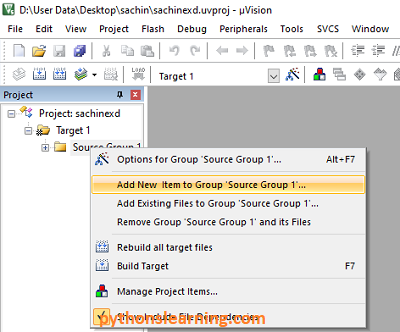
Next step is Add New Item group in keil software so for that click right on Source group 1 and select Add New Item to group ‘source Group 1’
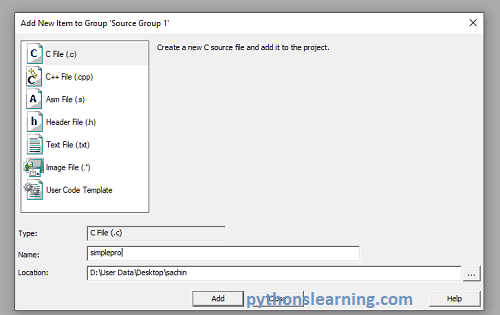
Following windows are open after the Add New Item group in keil software so select C file (.c) and give the name for this file . in below file we give simplepro name and add this file to source group.
Step 5 : how to write embedded c program in keil software
At the left hand side we see created different Target file so for write embedded code click on file and click on new.
Know we are ready to write embedded c code .
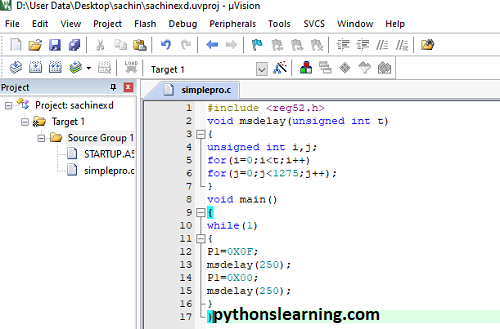
Here we are write simple embedded code for practice purposed.
Step 6 : How to Build the embedded c program in keil
after the write source code we need to compile this program so click on build program menu . then compiler execute our program one by one line and show result as like below pop-up window

Build output show zero error and zero warning
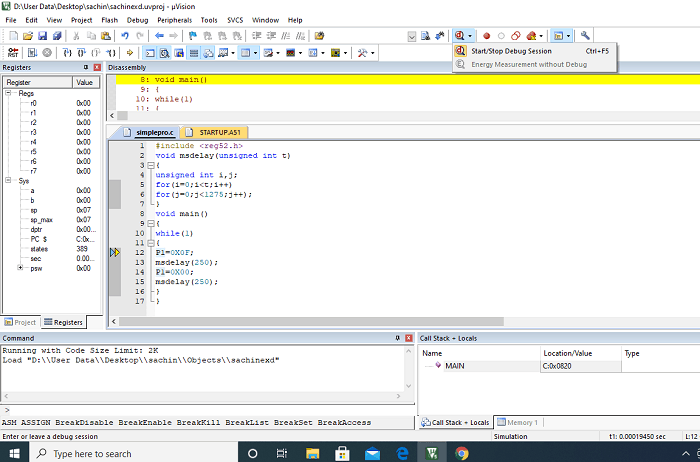
Step 7 : How to use Start Stop debug section
For debug purpose we can use Start/ Stop debug section Tab
Summary :
In this article we saw how to write and run embedded c program in keil software so about this article you have any query then free to ask me